
Specifications
- Model: 1-48 Scale Academy MIG 21 PF
- Finish: automotive acrylic spray paints, utilizing sludge wash weathering technique and utilized the Chinese Air Force Decals. In this case I have removed the starboard side air to air missle from it's rack
- Shoot: just after rain in Bangkok out the back window of my apartment in Ekamai, in this case I have increased the resolution to the maximum my digital camera can take 5 megapixels.
- Retouch: Very similar approach to previous post however with a new missile launch source pic (see below)
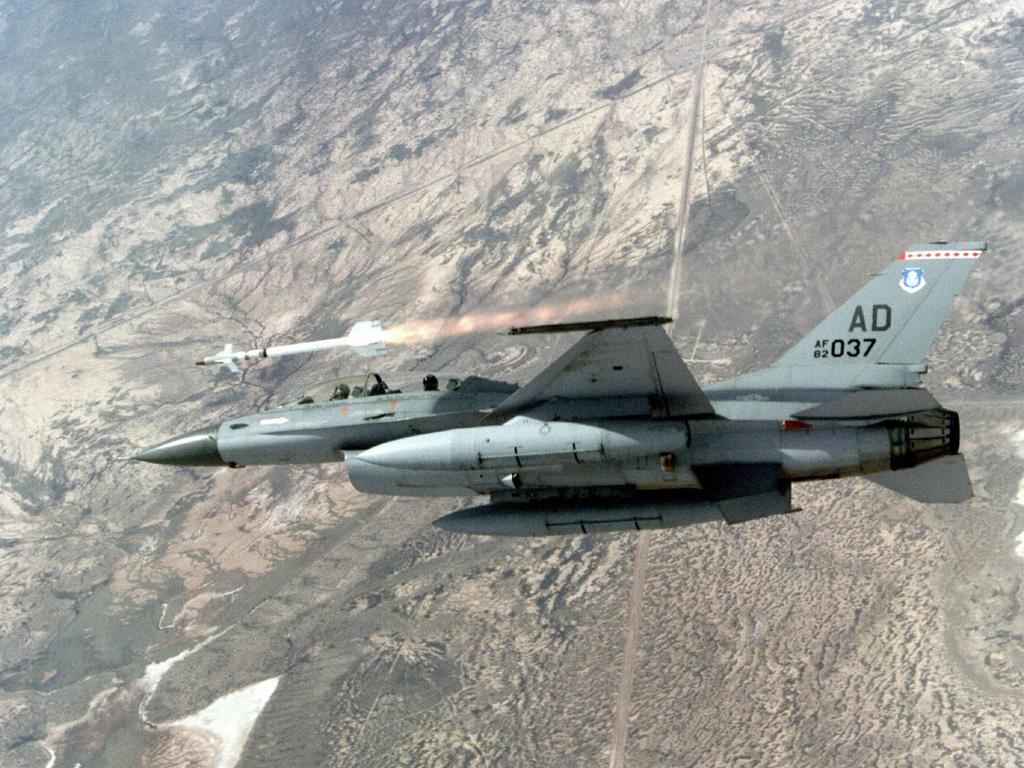 Missile launch source pic


